Brand an existing design.
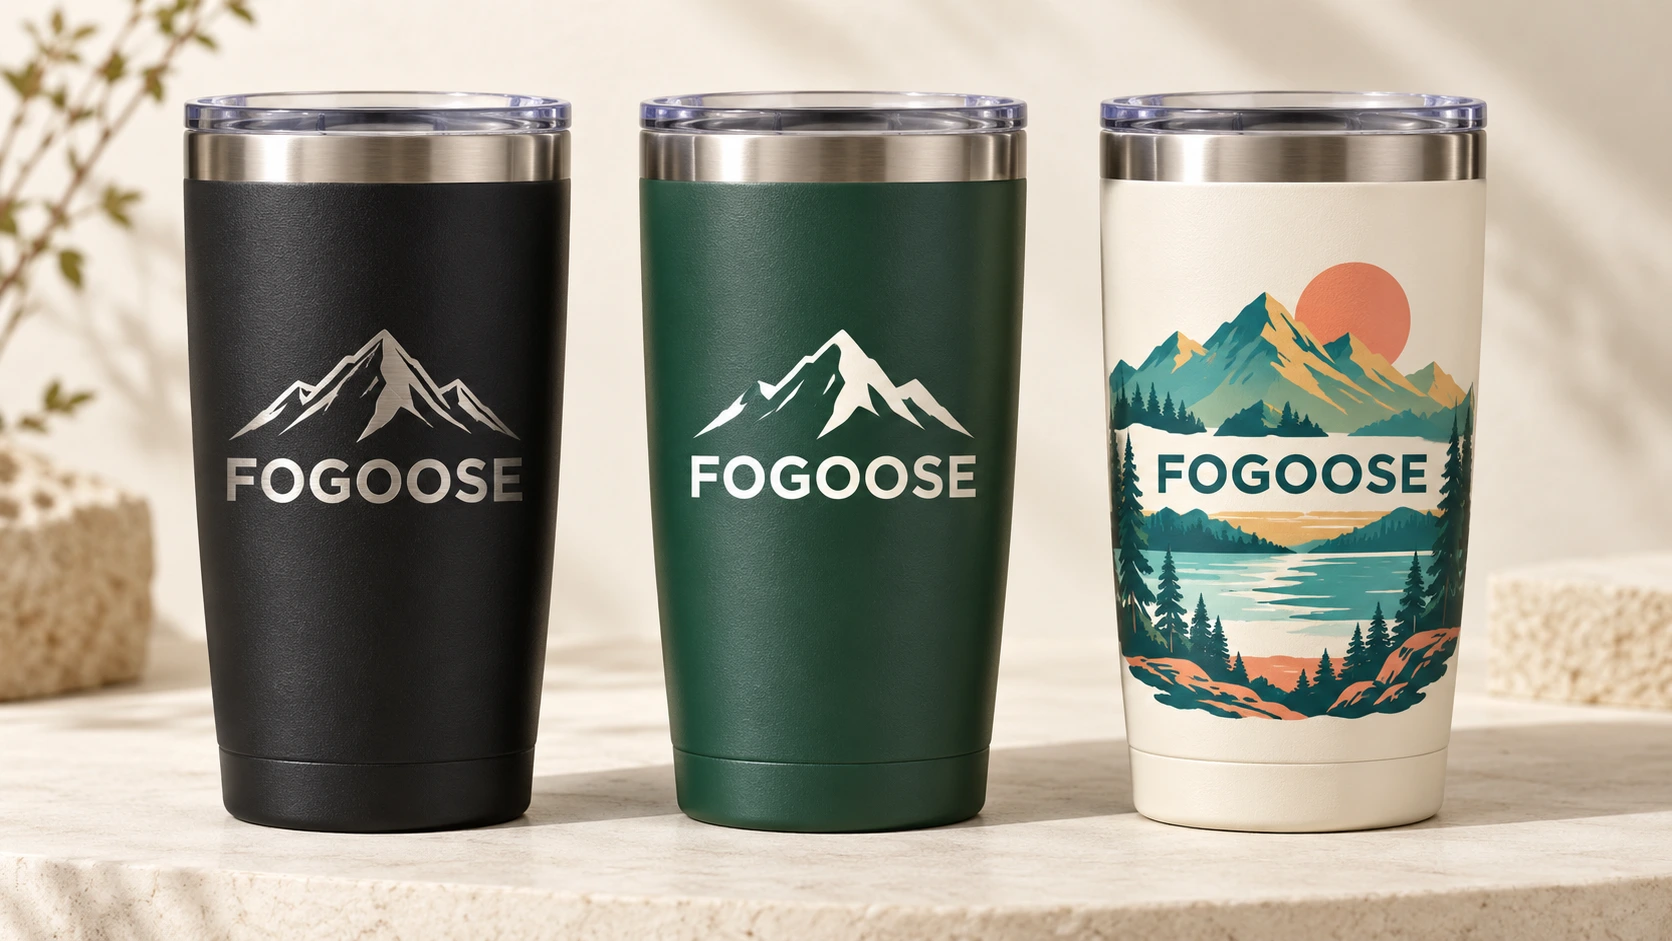
For launch assortments, merchandise and a focused first order. Select a cup from the collection, then discuss logo placement and decoration.
- Cup and capacity shortlist
- Artwork, size and position
- Sample and order quotation
OEM CUSTOMIZATION & PRIVATE LABEL
FOGOOSE OEM customization starts from one of three routes — logo on an existing cup, a coordinated private-label collection, or a gifts and campaigns build — then moves through sample approval before production. Quantity, options and timing are confirmed for the selected model and configuration. Digital renders are design concepts until a physical sample is approved.
A STARTING POINT FOR YOUR BUSINESS
Select the starting point closest to your project. Quantity, available options and timing are confirmed for the selected model and configuration.
For launch assortments, merchandise and a focused first order. Select a cup from the collection, then discuss logo placement and decoration.
For brands and retailers shaping a recognizable range. Align cup formats with color references, artwork and retail presentation.
For company gifts, promotions and seasonal projects. Explore a cup, suitable accessories and packaging around one occasion.
FROM YOUR 3D FILE TO A REVIEWED DESIGN
Review a 40 oz handled-tumbler project through model review, design revisions and a presentation render. This example shows the design review stage; physical samples and production approval are separate project milestones.
The customer shared a 3D model and reference notes for a 40 oz handled tumbler.
We reviewed wall structure, handle attachment, lid fit and the achievable finish.
Profile, handle and surface details were refined for the design presentation. Confirm the production configuration on the agreed physical sample.
The approved design was rendered for review before production tooling.
Design review example. It does not document a delivered production order. Scope, sample requirements, timing and deliverables are agreed for your project.
Start my custom project ↗COORDINATE YOUR RANGE
Explore a mix of handled tumblers, mugs, kids drinkware and sports bottles. Shortlist the formats that suit your audience.
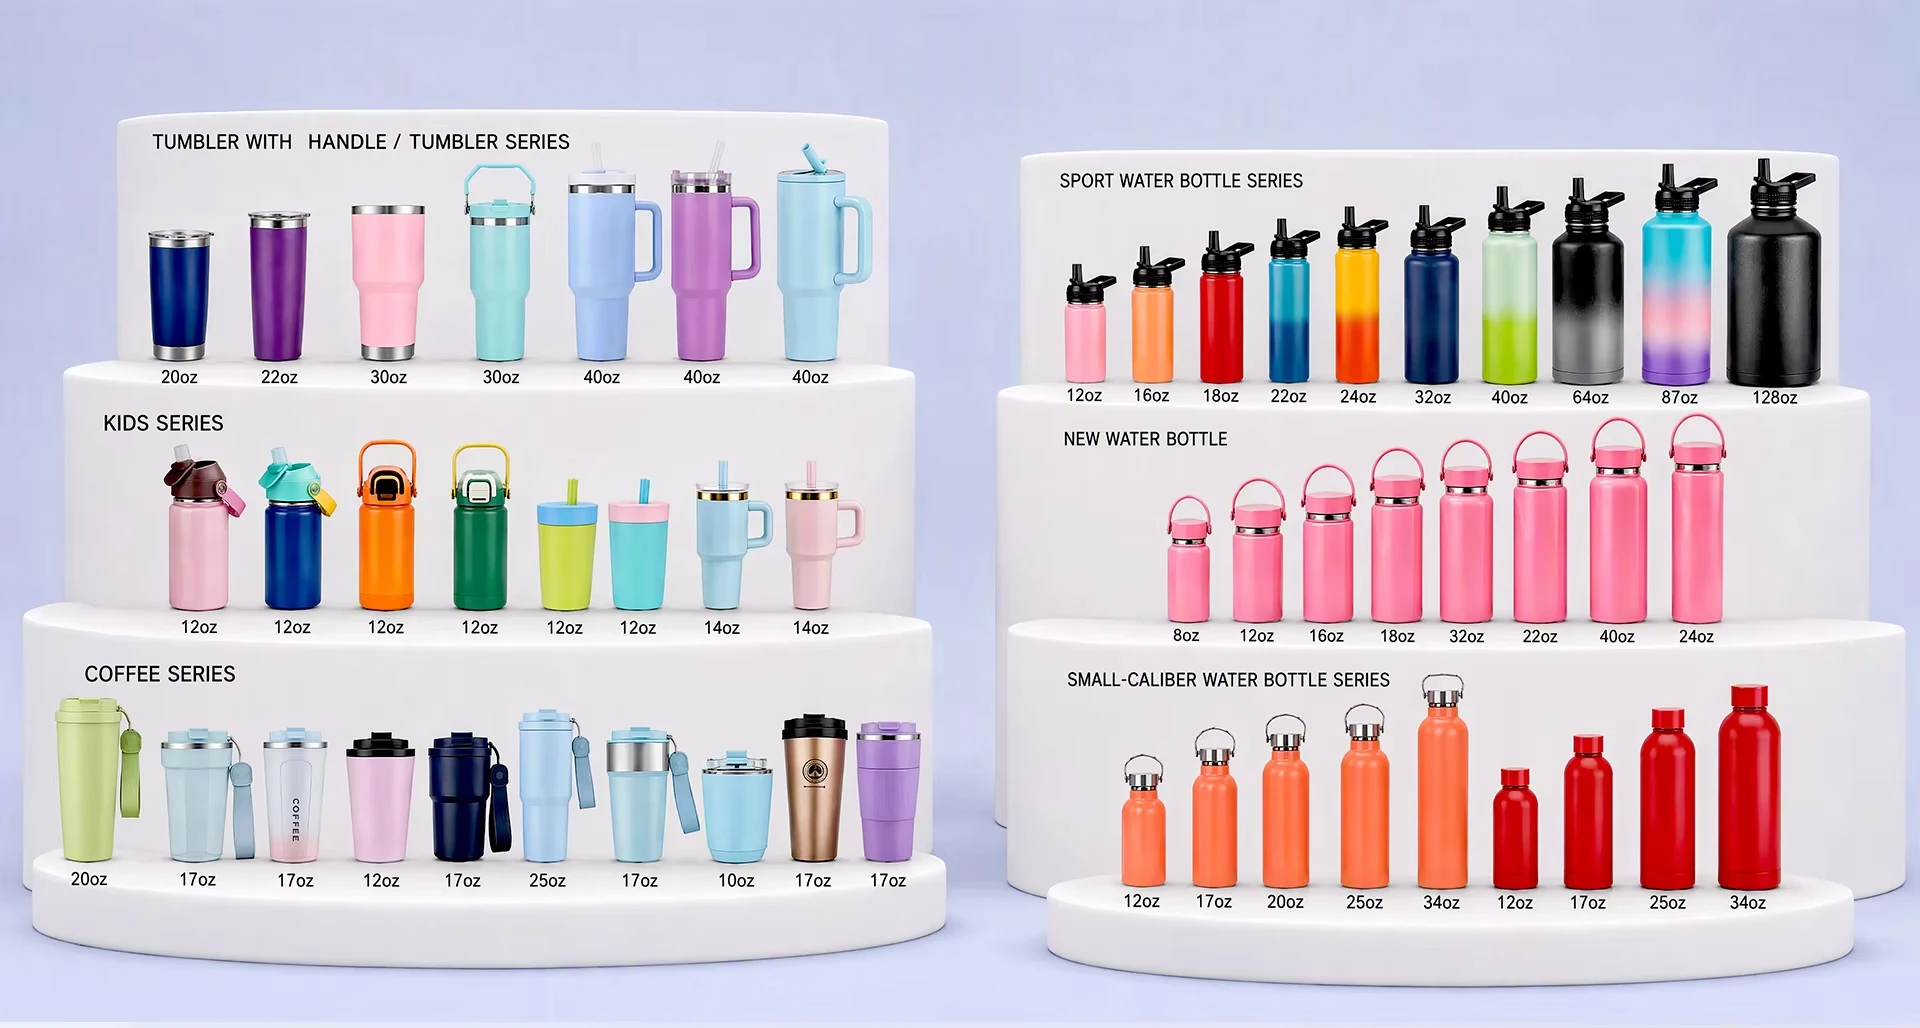
Collection examples. Confirm the available models, capacities and final configuration with your quotation.
Find your cup formats ↗FUNCTION BEFORE FINISH
A drinking lid, a carry strap and a gift box serve different needs. Check compatibility with the selected cup before approving your collection.
Discuss straw, sip or spout formats, opening mechanisms and the way your customer will carry the cup. Agree the closure checks for the selected version.
Explore compatible handles, carry straps, sleeves or other accessories for your selected model. Confirm fit, colors and component materials with the sample.
Define box artwork, labels, inserts and any accessory arrangement. Confirm packing dimensions, carton quantities and transit protection for the order.
FROM ARTWORK TO A PRINTED CUP
See artwork preparation, transfer alignment, heat-press operation and result inspection in a narrated walkthrough. Close-up reference footage makes the practical steps easier to follow; final settings depend on your selected cup, coating and materials.
A QUICK WAY TO CHOOSE
Compare the intended effect first, then see the process footage and sample checks. The final route depends on the cup, surface and artwork.
| Method | Visual direction | What to prepare | What to approve |
|---|---|---|---|
| Laser engraving ↓ | A restrained, single-tone mark | Vector logo; size and position | Exposed material, contrast and fine-line clarity |
| Screen printing ↓ | A logo in specified colors | Vector artwork; color references | Curved-surface registration and agreed color |
| UV printing ↓ | Detailed, multicolor artwork | Original high-resolution artwork | White underbase, coverage and adhesion |
| Water-slide decals ↓ | Illustrations or repeat motifs | Artwork with placement / wrap layout | Edges, seam alignment and finishing |
| Hydrographic transfer ↓ | A pattern around a shaped surface | Pattern reference; intended coverage | Distortion, seams and protected openings |
| Paint-transfer decoration ↓ | A decorative surface pattern | Pattern reference and color direction | Pattern variation, coverage and topcoat |
| Sublimation ↓ | Colorful or photographic designs | Artwork for a compatible coated cup | Coating suitability, seams and ghosting |
No process alone guarantees washing durability or product compliance. Confirm the complete configuration and applicable checks on the approved sample.
LOGO PRINTING & CUP DECORATION
Start with the artwork you want customers to remember. Compare how each method works, where it fits and what to approve before production.
A crisp, understated brand mark.
A focused laser marks the surface or removes a suitable coating to reveal contrast. It is a strong starting point for text, line artwork and a restrained logo.
Defined brand colors and repeat logos.
Ink passes through a prepared mesh stencil onto the cup. Each color needs its own printing preparation and alignment, making simple, clearly separated artwork a useful starting point.
Detailed, multicolor brand artwork.
A digital printer deposits ink that is cured with UV light. Depending on the cup and equipment, artwork may be placed in a defined area or around a compatible cylindrical body.
Positioned graphics and decorative wraps.
A prepared graphic is transferred from its carrier onto the cup surface, then processed with the appropriate drying or finishing route. Placement and coverage are checked on the actual cup.
All-around patterns with visual movement.
A printed film is floated and activated on water, and the prepared component is dipped through the pattern. The cup shape affects how the image stretches and meets around the body.
Expressive decorative cup surfaces.
Explore decorative paint-transfer routes for patterns and layered visual effects. The film or transfer system, surface preparation and final finishing route are selected for the actual cup.
ANOTHER ROUTE TO COMPARE
Heat transfer is a broad process family. Sublimation uses heat to transfer suitable dyes into a compatible polymer-coated surface. It can be considered for colorful or photographic artwork on a cup prepared for that method.
A bare stainless steel body or an ordinary painted finish is not automatically suitable for sublimation. Confirm the coating, cup geometry, artwork coverage and approved process first. On the sample, review colors, seam alignment, ghosting and edge coverage.
Ask about a compatible cup ↗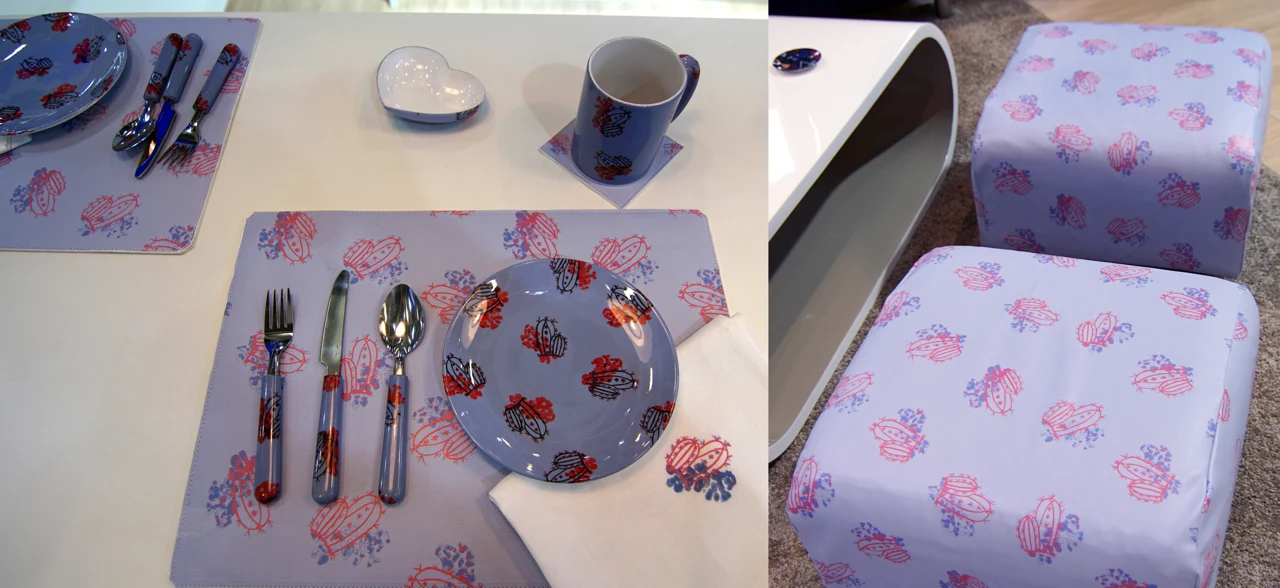
External process reference. Playback uses Wistia; its privacy terms apply. This does not describe FOGOOSE equipment or guarantee a particular cup configuration.
Care and durability depend on the complete cup, coating, ink and curing system. Agree relevant adhesion, abrasion and washing checks and the final care instructions. A process name alone does not establish dishwasher suitability.
General process references: Trotec — laser marking insulated bottles; Mimaki — cylindrical UV printing; Sawgrass — sublimation substrates. These explain process principles; suitability is confirmed for your selected configuration.
COLOR, MATERIAL & FINISH
Bring a color reference and a desired look or texture. Match the cup body, lid, handle and printed packaging around the same brand direction.
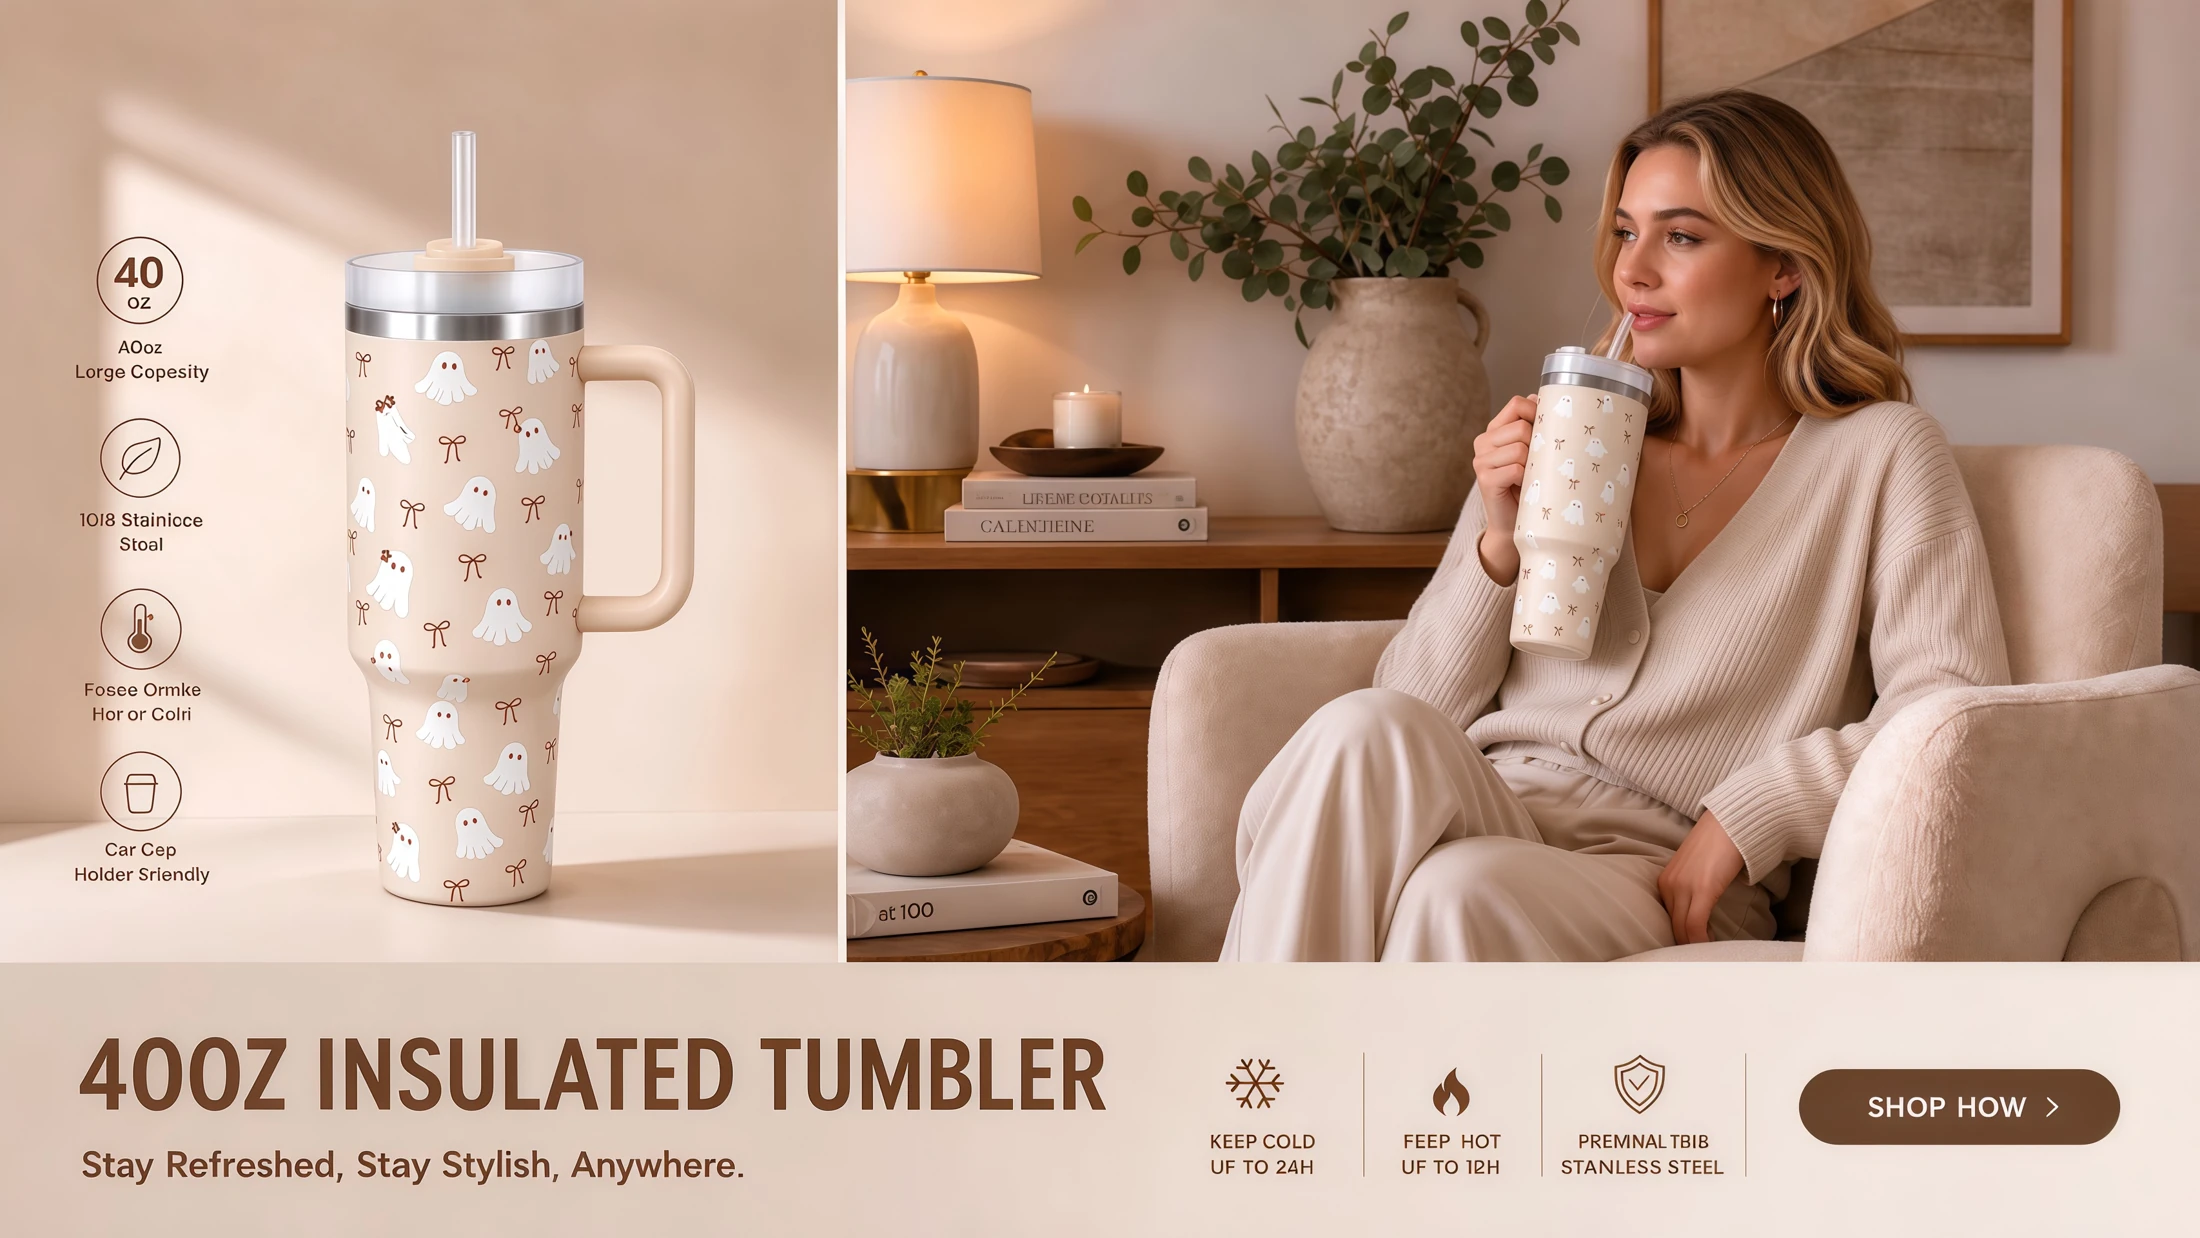
Coordinate artwork across cup formats and packaging.
Discuss how lighting and surface treatment change the effect.
Explore accent graphics, coverage and surface appearance.
Confirm the activation conditions and final appearance on a sample.
CUSTOM COLOR BOXES & GIFT PACKAGING
Create a coordinated unboxing and retail presentation. Explore box structure, printed artwork, protective inserts and shipping information together with the cup.
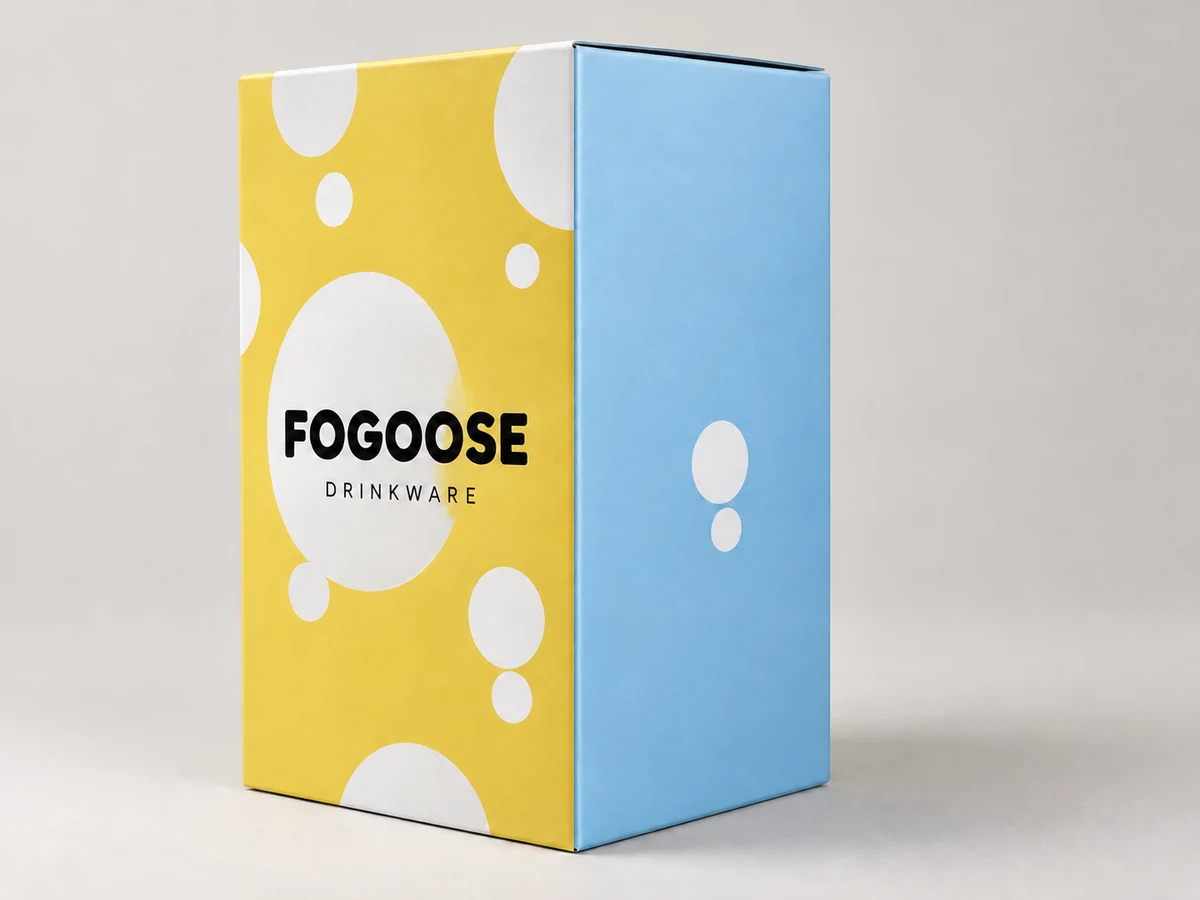
Full-color retail graphics, product information and a coordinated visual identity.
Discuss this box ↗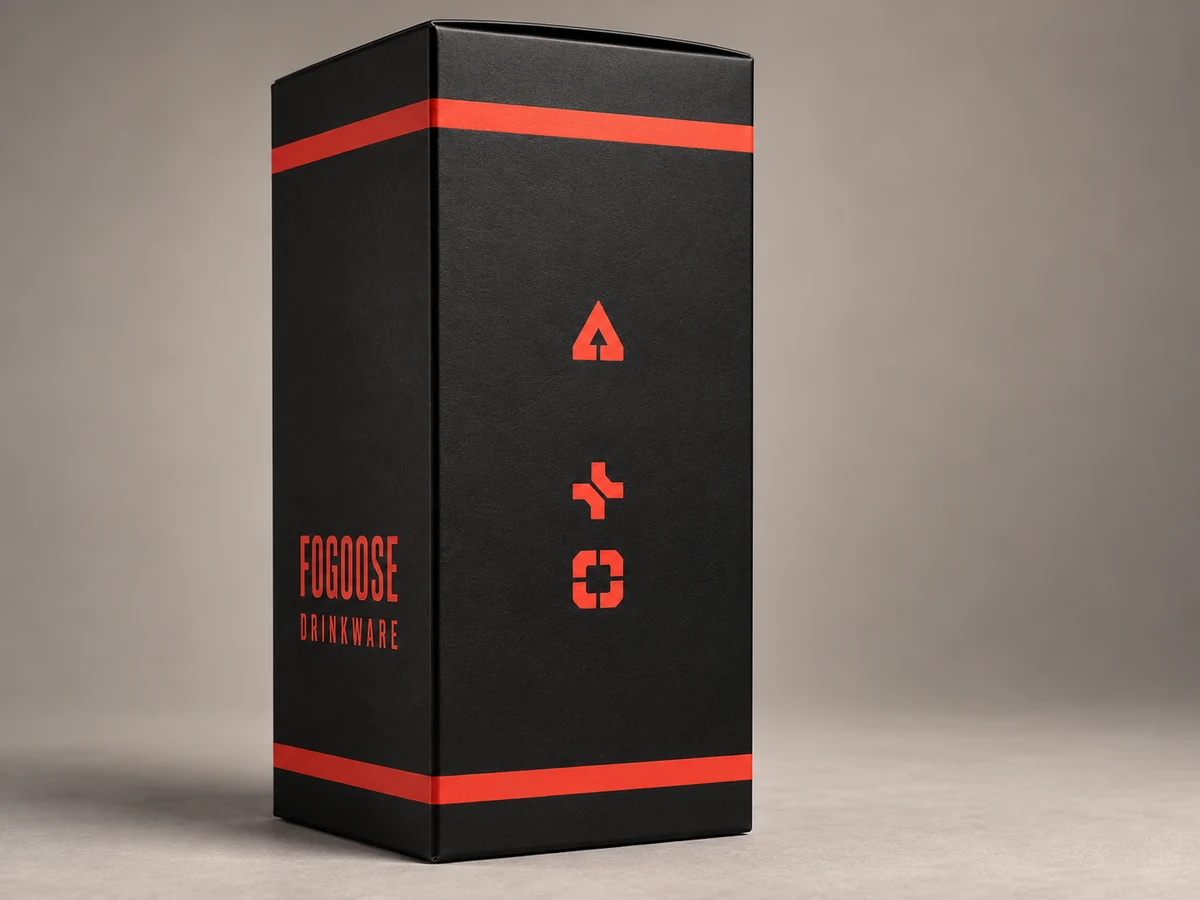
Focused brand colors and defined printed elements on the proposed paper stock.
Discuss this box ↗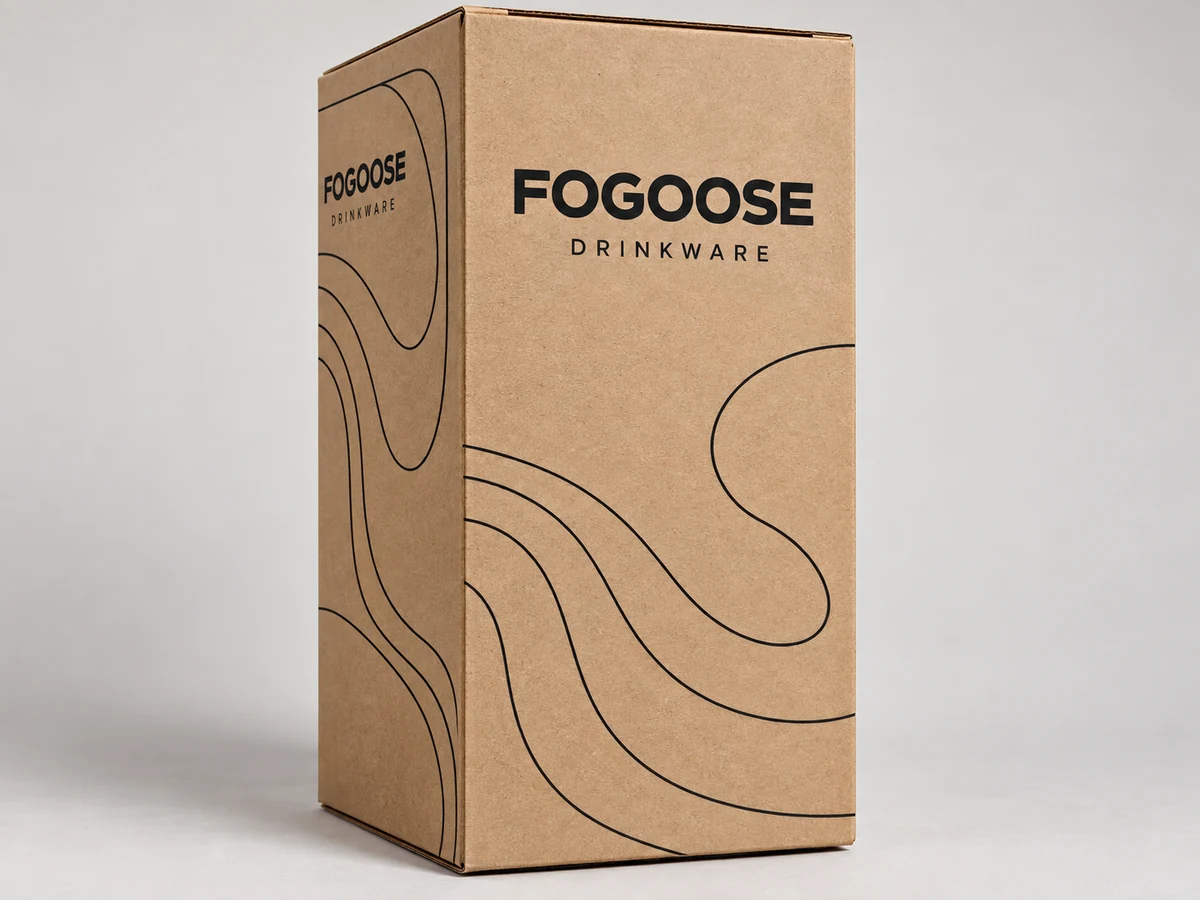
A natural paper appearance with artwork and print contrast reviewed on a proof.
Discuss this box ↗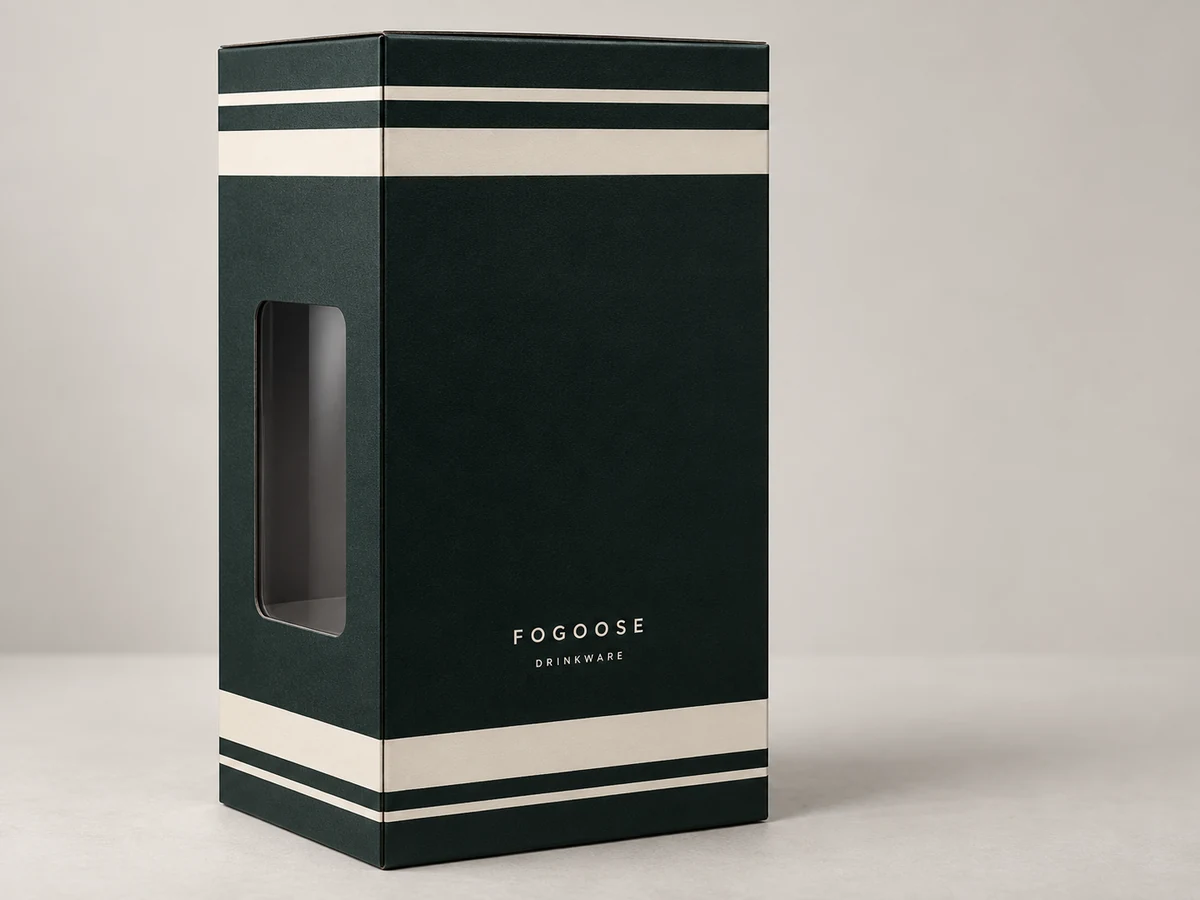
Discuss the visible product area, structural strength and internal cup protection.
Discuss this box ↗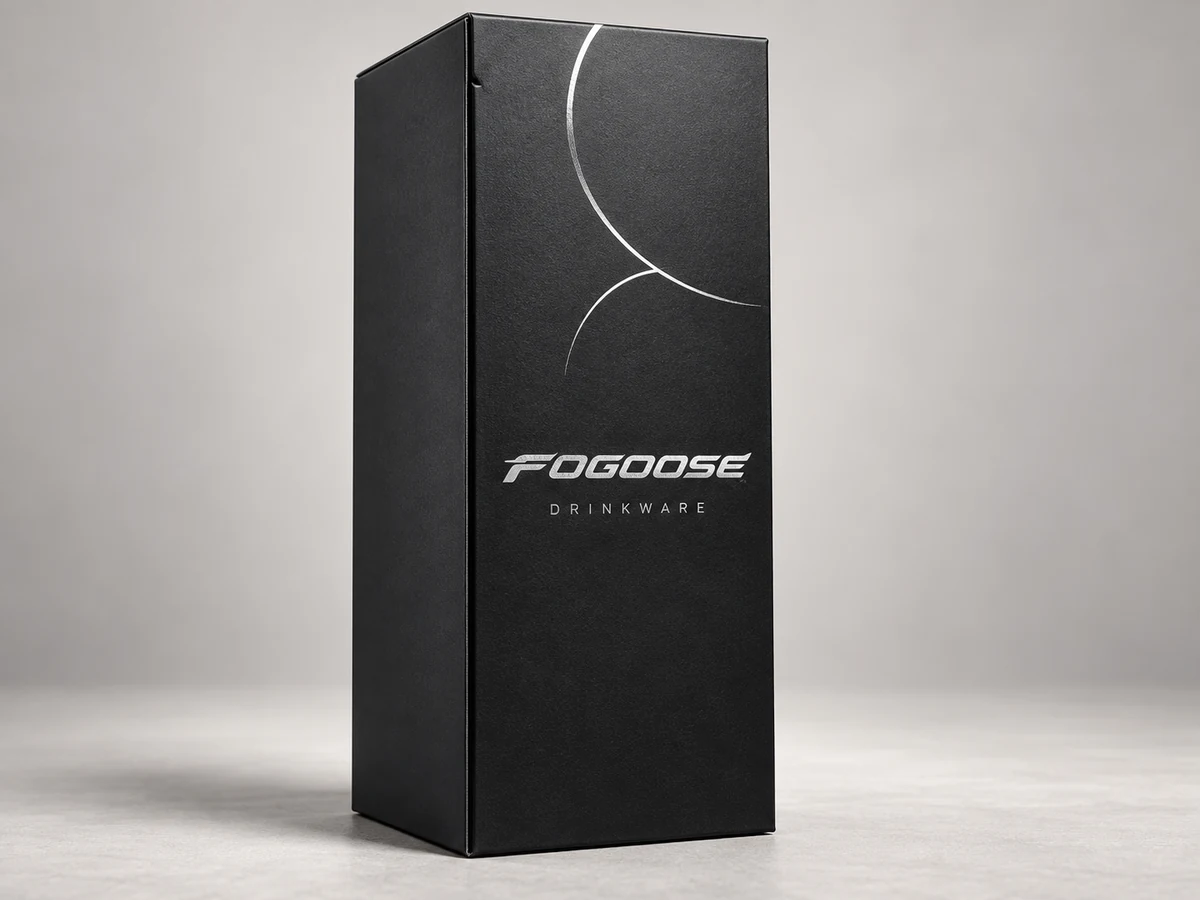
Metallic accents and gift presentation, with position and finish approved on a sample.
Discuss this box ↗
A restrained starting point for packaging, labels and individual cup protection.
Discuss this box ↗FOGOOSE packaging design concepts, digitally illustrated to explain the options. These are not production proofs. Your final box follows the approved cup, artwork, dieline and packing specification.
INDIVIDUAL PROTECTION & PACKING
Individual cup protection is part of the complete packing specification. Agree the protective materials, accessories, unit box and shipping carton for your order.
Share your cup reference and brand artwork. We confirm the proposed box format and dieline before finalizing print artwork.
Plan my cup & color box ↗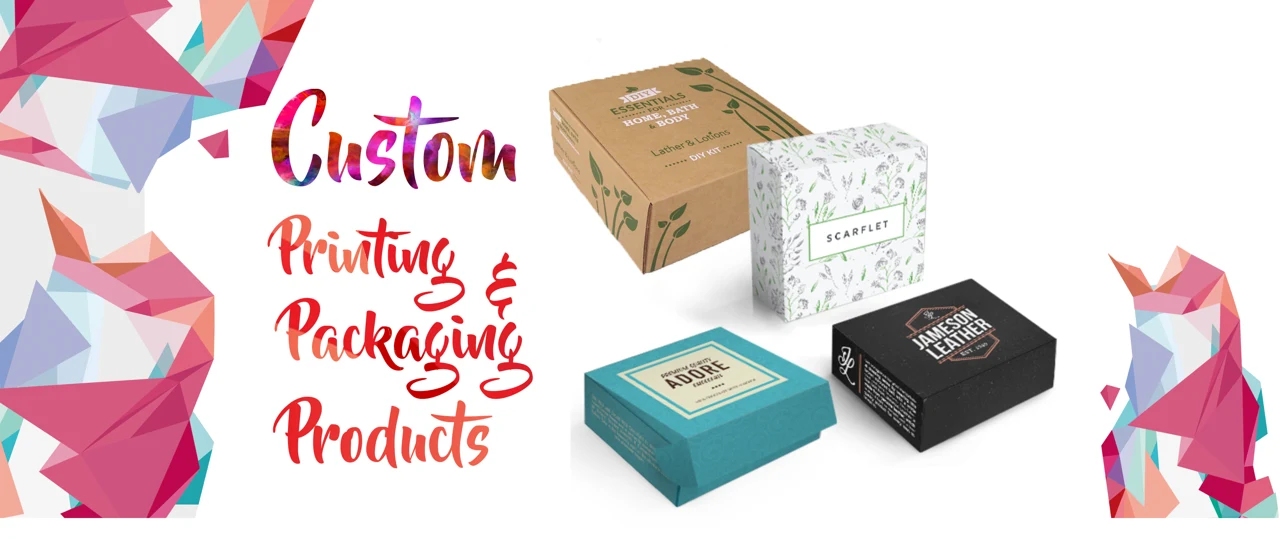
DRINKWARE, IN MOTION
Explore decoration, surfaces and packaging in the longer film, then take a quick look at production and the showroom.
1:49 · Production, logo decoration, finishes, packing and labeled color-box concepts.
0:17 · Genuine factory, packing, cup stock and showroom footage, prepared from 4K sources.
Factory and process footage is illustrative. Digital packaging concepts are labeled in the longer film; the final box requires sample approval. Confirm the process route and specifications for your project.
Explore the logo & decoration guide ↗BEFORE YOU APPROVE
Separate a stock sample, a decorated sample and a production approval sample. Their purpose, charges and timing can differ.
Discuss a sample ↗Model, capacity, cup and lid materials, drinking components and intended use.
Color reference, artwork size, placement, finish and packaging version.
Relevant lid leakage, insulation, finish and food-contact documentation for the selected model and market.
Sample version, changes, charges, freight and any agreed refund or credit terms before production.
FROM YOUR BRIEF TO YOUR ORDER
Cup, quantity, artwork, destination and target date.
Available configuration, MOQ, sample costs, production and shipping terms.
Review the agreed specifications and record the approved version.
Production, agreed checks, final packing and delivery arrangements.
Sample preparation, production and transport are separate stages. Your schedule is confirmed after the configuration and order requirements are reviewed.
YOUR OEM PROJECT
Choose the cup, artwork and packaging you have in mind, then add your contact details in the same form. Select “Help me choose” if you are still exploring.
Quotation, sample and document requests share one form. Pricing, availability and timing are confirmed after review.
QUESTIONS BEFORE YOU START
MOQ depends on the model, color, decoration and packaging. Share your target quantity and selected cup so we can confirm a suitable configuration and quotation. The quantity choices in our form are planning ranges, not an MOQ promise.
Ask about a stock sample, decorated sample or production approval sample. We confirm availability, the sample specification, charges and freight for your project. Any refund or credit against an order must be agreed separately.
Share an original vector logo when available, a color reference, desired size and placement. For patterned designs, include the intended coverage. Artwork and cup geometry are reviewed before confirming the decoration method.
Timing depends on the configuration, approvals, materials and order requirements. Sample preparation, production and shipping are quoted as separate stages. Share an event date early so we can assess the plan.
Tell us your destination market and intended use. Ask for applicable material and food-contact documentation for the exact model and configuration. A supplier report or a material grade alone does not cover every finished product.
Send a brief describing the concept and functional requirements first. Feasibility, engineering, tooling, testing, costs and ownership terms require a separate assessment. A concept inquiry is not confirmation of mold-development capability.
LET’S MAKE IT YOURS